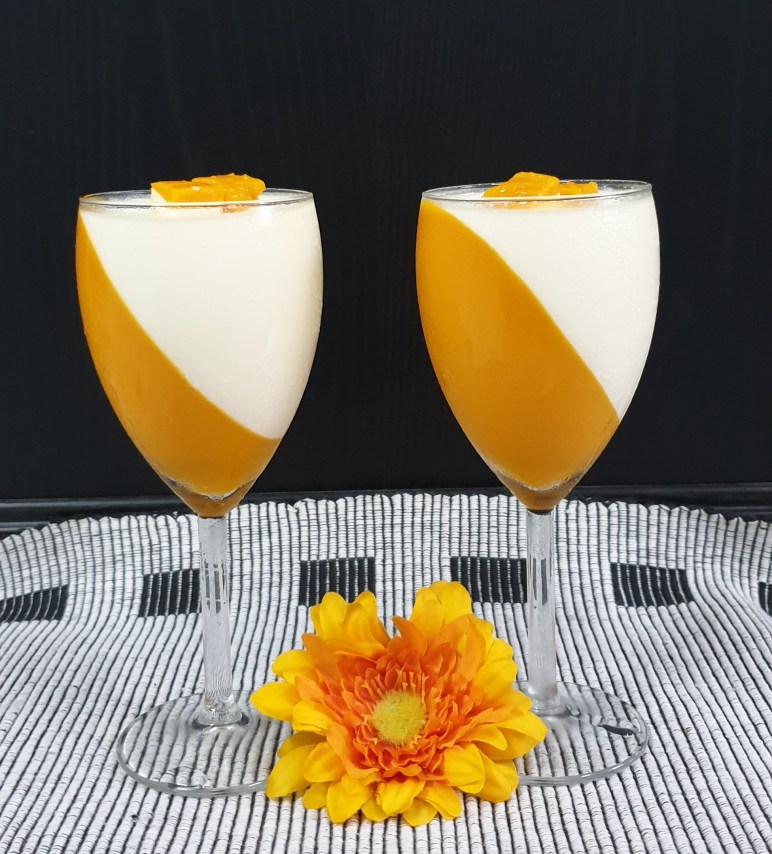
‘Mango Panna Cotta’ a trending, royal, and velvety dessert. ‘Panna Cotta’ basically is an Italian traditional dessert made of cream, cooked with Gelatin and molded. The cream will be flavored with various flavors like coffee, vanilla, or any other. Although it is said to be ‘cooked cream’, the ingredients are only warmed enough to dissolve & equally mixed.
This dessert is easy to prepare only you need to be accurate while using gelatin. A good option for parties as it can be prepared 1 day prior and kept in the refrigerator. For get together or small household parties you can mold this dessert into small disposable dessert cups. My hubby & son both like this dessert and relish it thoroughly. Instead of Mango, you can even use strawberry or even you can make it plain vanilla flavor.
You can even use agar agar as a substitute for Gelatin, but I am comfortable using gelatin powder as its much convenient.
Ingredients
- 1 cup Mango pulp
- 20 gms Gelatin or Agar Agar
- ½ cup Sugar (or as required)
- 1 cup heavy or whipping cream
- 1 cup full-fat milk
- 4 drops of vanilla essence.
- Water (to dissolve gelatin)
1. Why do we need gelatin – without gelatin the cream will not set.
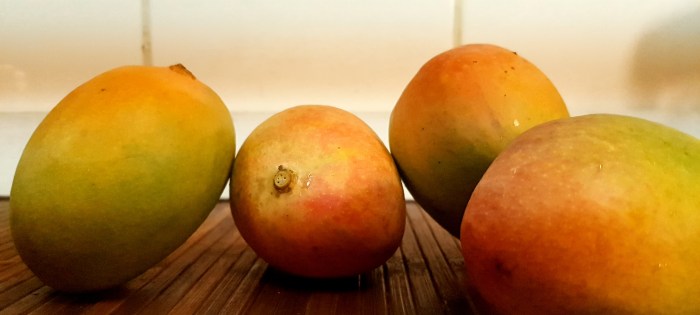
2. I have used Alphonso mangoes to make the mango pulp. Use any good quality sweet mangoes. Just make sure they are not fibrous.
3. Gelatin should be unflavored and sugar-free.
So let’s start our recipe “Mango Panna Cotta”
Step by Step process
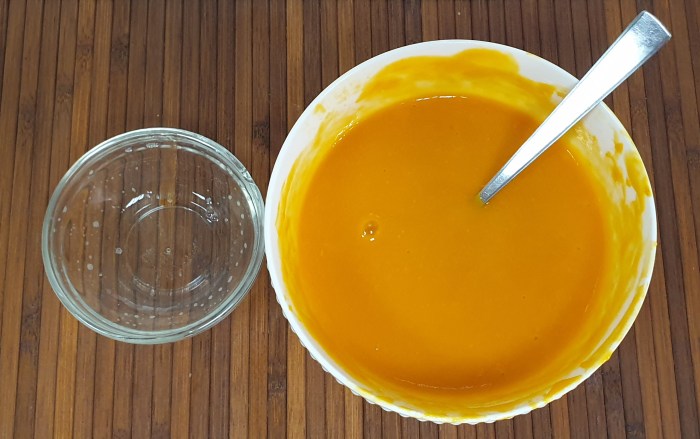
Firstly we will mold Mango Layer. For this, we need thick mango pulp, Gelatin 8 gm or 1 tsp and water to dissolve the gelatin.

1. Take 8 gm of Gelatin in a small bowl which is microwave-safe add little water and mix it. keep it aside for 10 mins. After 10 mins microwave it for 15 secs to warm and dissolve it appropriately. Don’t make it too hot otherwise it will turn into lumps. Add this gelatin to mango pulp and mix it nicely.


2. Place the serving glass (mold) in tray or container to tilt it slightly.
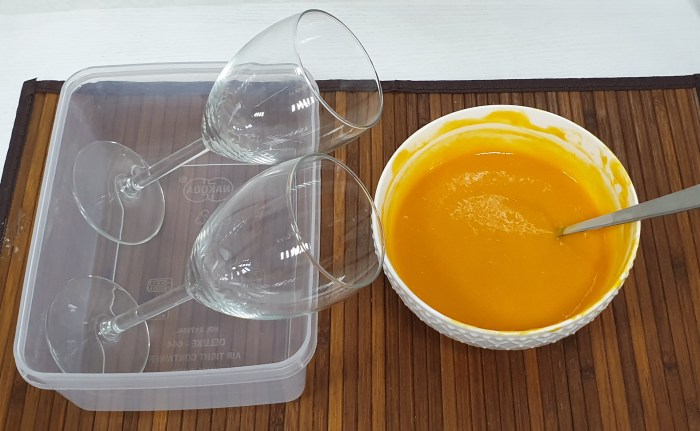
3. Now pour the mango mixture into the glass till it reaches the rim.

4. Carefully place this tray of glasses into the refrigerator. Let it set for 3-4 hours or overnight.

5. After a few hours, the Mango layer is set.

Points:
- The consistency of Mango pulp/puree/mixture should be liquefied so that it can be poured easily into the glasses.
- You can also follow the instruction of using gelatin powder. Instead of a microwave, you can even warm it on a gas stove to dissolve.
- Most important taste the mango pulp before adding gelatin. If the mango pulp is not sweet then add powder sugar, mix it nicely to dissolve.
STEP 2
Now we will mold Cream Layer. For this, we need heavy or whipping cream, milk, sugar, gelatin, and vanilla essence.


1. Place a saucepan on gas stove add full-fat milk let it become hot (don’t boil). Then add cream and sugar stir well to dissolve the sugar. Add drops of vanilla essence, mix and keep it aside to cool down.


2. Follow the same process of gelatin as before. Take 8 gm of Gelatin in a small bowl which is microwave-safe add little water and mix it. keep it aside for 10 mins. After 10 mins microwave it for 15 secs to warm and dissolve it appropriately. Don’t make it too hot otherwise it will turn into lumps. Add this gelatin to the warm cream mixture and mix it evenly. Let it cool down to room temperature.


3. Remove the set glasses from the refrigerator and pour this cream mixture into it.


4. Refrigerate it for 4 hours or overnight.
5. Once set serve it chill and top it with few mango chunks.

Tips:
- Instead of fresh mango pulp, you can even use frozen tin mango puree from stores.
- If you don’t have mango then use strawberry, raspberry, chocolate, etc.
- Don’t freeze the Manga panna cotta. We need to just set it in the refrigerator.
- Gelatin contains meat/beef so people who are vegetarian can use Agar Agar or now a days we also get veg gelatin in market.
- Sugar should be adjusted as per your taste. This should be done before adding gelatin.

Disclaimer: The content of this blog is solely my views of a place and food. This is not to offend any class, religion, ethnicity, or nation. My views can change from time to time based on my latest experience. I am an independent owner of this site and the views expressed in this are my own. All photographs are owned by me.
Till Then …
Stay Happy, Healthy, and safe!!!

so good!
LikeLike
Thank you
LikeLike